Font Awesome is one of the most used icon libraries. I will show how to add icons to
- Classic WordPress theme
- Full Site Editing theme.
- As well as using WordPress Dashicons.
Adding Font Awesome icons to your menu
You can use the Font Awesome WordPress plugin. Another plugin such as Menu Icons plugin which uses multiple icon types or set it up manually with code.
The manual approach.
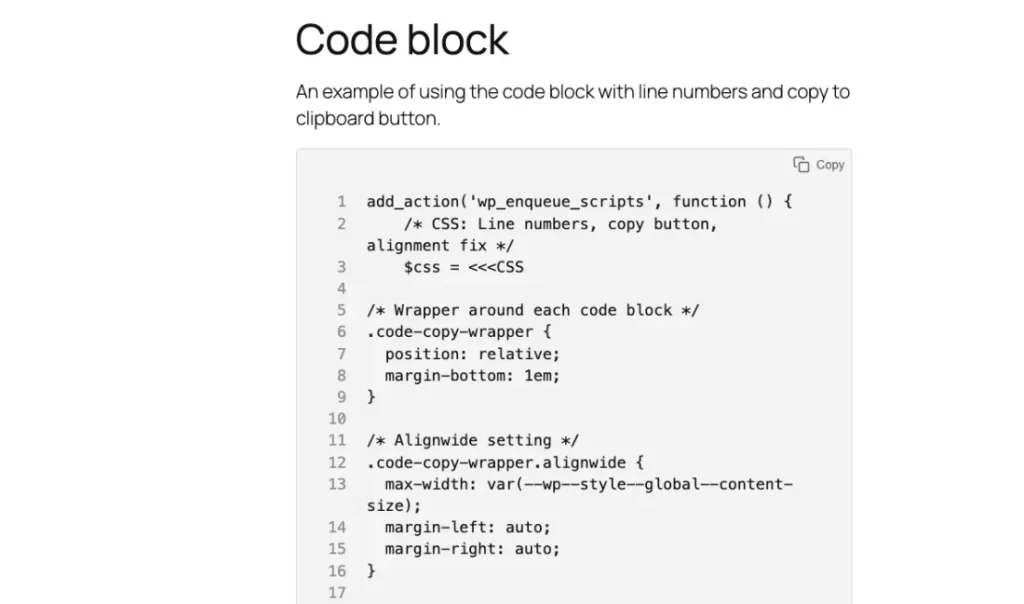
In your child theme functions.php file or a code snippet plugin add the following:
// Load Font Awesome version 6.
add_action( 'wp_enqueue_scripts', 'enqueue_load_fa' );
function enqueue_load_fa() {
  wp_enqueue_style( 'load-fa', 'https://use.fontawesome.com/releases/v6.2.0/css/all.css' );
}
Or use this code: (DOES NOT WORK)
—> This code does not work and shows the wrong icon to signal that something is not working.
// Load Font Awesome version 5.
 add_action( 'wp_enqueue_scripts', 'enqueue_font_awesome' );
 function enqueue_font_awesome() {
 wp_enqueue_style( 'font-awesome', '//maxcdn.bootstrapcdn.com/font-awesome/latest/css/font-awesome.min.css' );
 }
Depending on what kind of theme you are using the approach will be different.
One has the classic “regular” WordPress themes and the new Full Site Editing (FSE) themes.
A “Classic” WordPress theme.
Go to Appearance -> Menus.
Create a menu or use an existing menu.
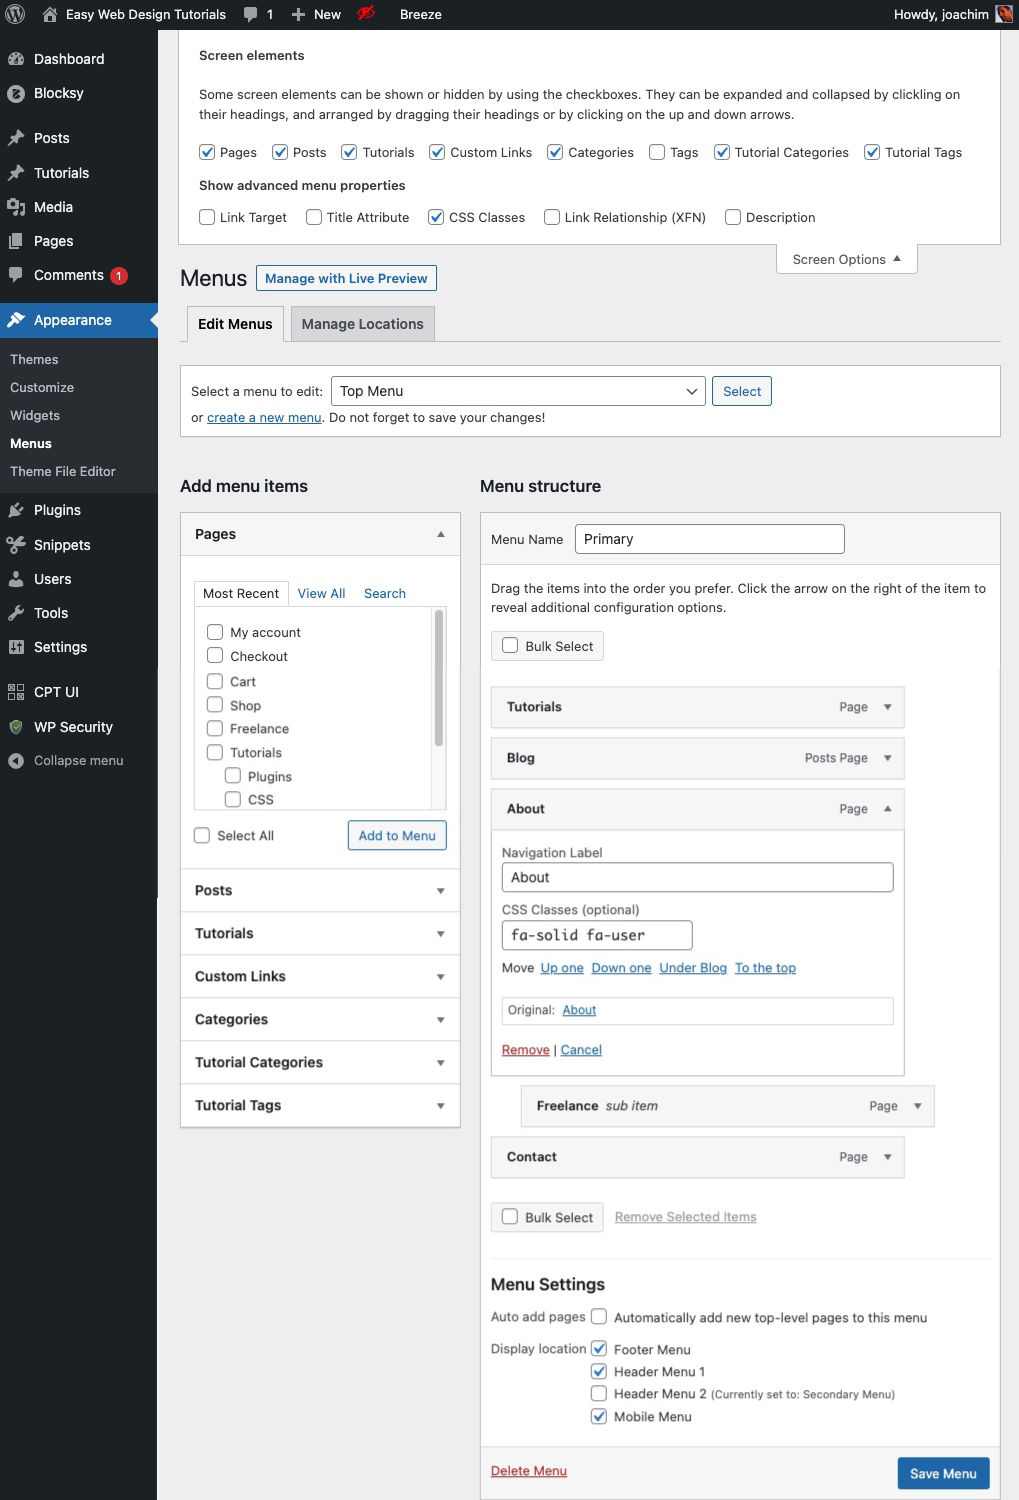
Click Screen Options top right. Click the checkbox for CSS Classes. (See example below.)
In your menu decide which link to begin adding an icon to.
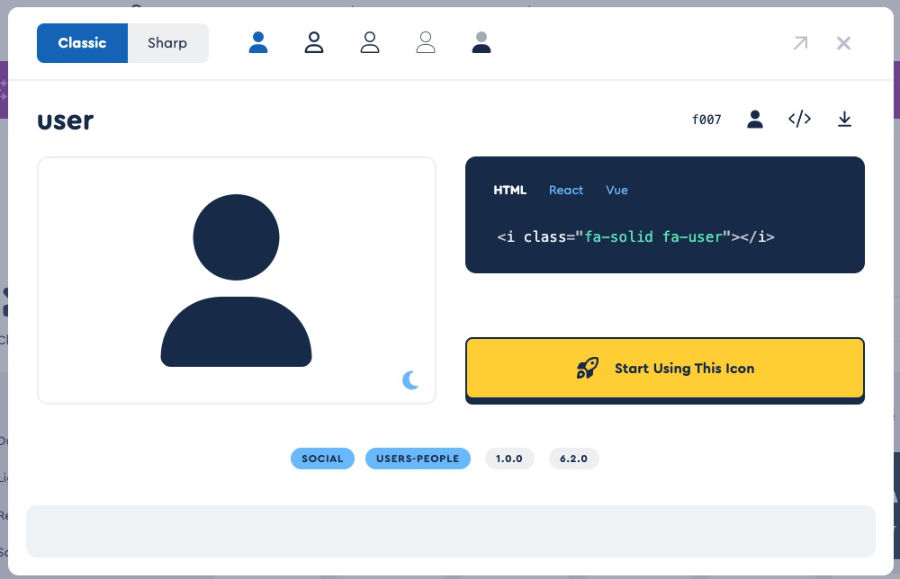
Choose from various Font Awesome icons. Do a search for a specific icon on the Font Awesome icons overview page, scroll the list or select a category in the left sidebar. In the below example I use an icon called user.
When you click an icon, a modal will open. Here we can decide on variations of the specific icon.
We need to copy the class name fa-solid fa-user which will be used in the Menu link CSS Class field.
Screen Options: CSS Classes has been clicked so that it seen for each link added to the menu.
Menu item – About: Notice that I have pasted the fa-solid fa-user Font Awesome code into the CSS Classes field.
Save the Menu and check your front page. This is what I see. The solid user icon has been added to the left of the About menu link.

Additional adjustments through CSS.
In the browser I right clicked the menu area and selected “Inspect”. HTML is seen on the left and CSS on the right (your layout might be different). I moved the cursor up and down the HTML code to highlight the elements seen on the frontend of the page to give an idea which element I had selected. I found the Font Awesome icon and in the CSS area I added some additional code.
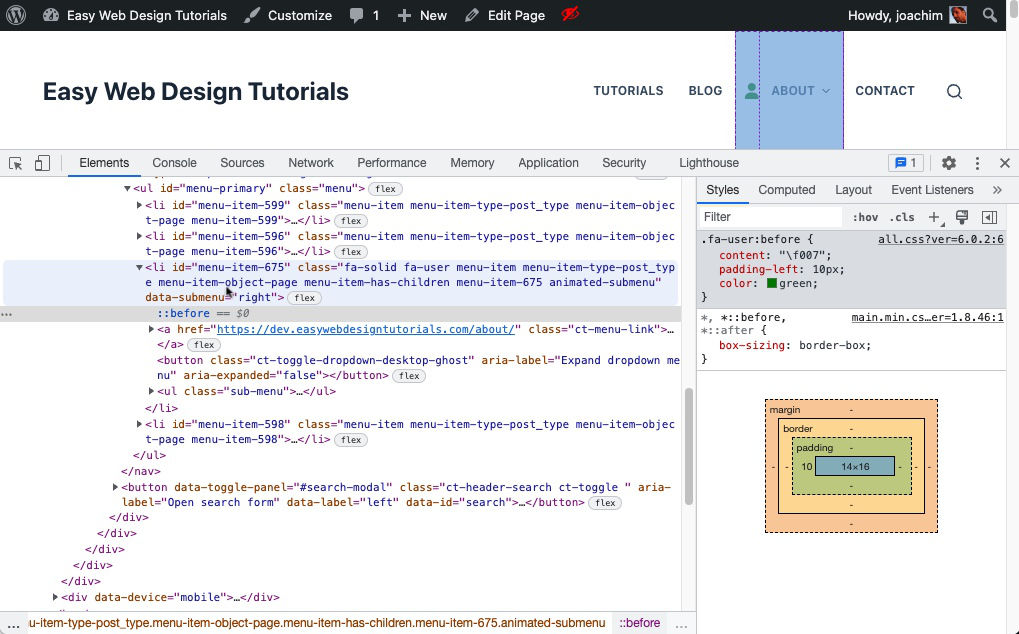
.fa-user:before {
    content: "\f007";
    padding-left: 10px;
    color: green;
}
If you want to pin point the code further you can also add the class ahead of it like so.
.menu-item-675.fa-user:before (It can be seen in the above screenshot where the cursor is located.)
NB!
Adding the code through the CSS in the Elements area of the browser is only temporary and when you refresh the page the added code is gone. The code needs to be copied into your child theme style.css, a code snippet plugin, or the Appearance -> Customize -> Additional CSS section for it to become permanent.
Resource used: How to add Font Awesome icons.
Adding an icon to a Full Site Editing (FSE) theme
What is different from a Classic theme.
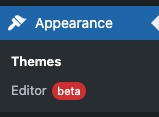
The Appearance drop down has changed.
Customize drop down has changed and only shows Themes and Editor.
Adding custom CSS through the Customize is more difficult.
It can be reached through this direct link (replace yourwebsite.com):
https://yourwebsite.com/wp-admin/customize.php
There are alternatives to adding CSS.
Using a child theme style.css file.
A code snippet plugin.
As mentioned at the beginning of this tutorial. Add the code to load Font Awesome icons. Through a child theme functions.php file or a code snippet plugin.
// Load Font Awesome version 6.
add_action( 'wp_enqueue_scripts', 'enqueue_load_fa' );
function enqueue_load_fa() {
  wp_enqueue_style( 'load-fa', 'https://use.fontawesome.com/releases/v6.2.0/css/all.css' );
}
Choose from various Font Awesome icons, and select the icon you want to use.
Copy the class CSS name.
Go to the Editor.
Click the Nav block (Header is selected), click a link (Navigation is selected) and click again and notice the individual link is selected.
Click Advanced in the settings sidebar. In the Additional CSS Class(es) add the icon you want to use. I am adding fa-brands fa-font-awesome.
Also notice the hierarchy on the bottom of the screenshot seen as breadcrumbs.
It gives a good signal to where one is located.

Save the page. Click the View button and in the drop down click View site. The icon is added but the result is not what I hoped for. (It will gradually be fixed through the Gutenberg Github repository. Or perhaps it is only the test site that is getting the error. Anyhow you get the idea of how it works.

Using Dashicons
Dashicons are used for the backend admin links can also be used in the menus or other places.
Add the following to your child theme functions.php file or a code snippet plugin.
//* Enqueue Dashicons
add_action( 'wp_enqueue_scripts', 'enqueue_dashicons' );
function enqueue_dashicons() {
 wp_enqueue_style( 'dashicons' );
}
Go to Dashicons web site. Find an icon you want to use. Click Copy CSS and copy the code seen. Add the Dashicon icon and the font-family to your child theme style.css, customize CSS section or code snippet plugin. Experiment with the CSS.
The CSS:
/* Home link */
.menu-item-596 a:before {
 font-family: 'dashicons';
 content: "\f106";
 font-size: 16px;
 color: red;
 padding-right: 3px;
}
CSS Styling tips
Using a:before adds the icon before the menu title.
Using a:after adds the icon after the menu title.
One can add a hover effect to the icon by adding the word hover:
a:hover:before or a:hover:after.
An example.
/* Font Awesome icon */
.menu-item-30 a:before {
   content: "\f01c";
   text-shadow: 1px 1px 1px #000;
   font-size: 16px;
   cursor: pointer; /* Changes the cursor. */
}

/* Hovering over the link changes to another icon. */
.menu-item-30 a:hover:before {
 content: "\f003";
 text-shadow: 1px 1px 1px #000;
 font-size: 16px;
 cursor: pointer;
}
Another example of using Font Awesome icons is from my styling a Ninja Forms contact form tutorial.

