An overview of what WordPress looks like and of the different screens one can see in the administrator area one uses to create and modify a web site. I am also including a short look at different ways to setup WordPress before going through most of the screens one can see in WordPress.
I have an earlier tutorial I called: What is WordPres. It gives some ideas as to why to use WordPress.
Here is the video introduction to WordPress.
Setting up WordPress
There are multiple ways of setting up WordPress.
- Download the WordPress zip from wordpress.org. Which will be uploaded to the domain one plans to install WordPress at. How to install WordPress manually tutorial.
- Download an offline program such as localwp.com to setup a local development offline site which can later on be uploaded to a domain.
- Ask the web host how to create a new WordPress site at their web hotell.
These are some of the options that I can think of.
Some of the WordPress administrator screens
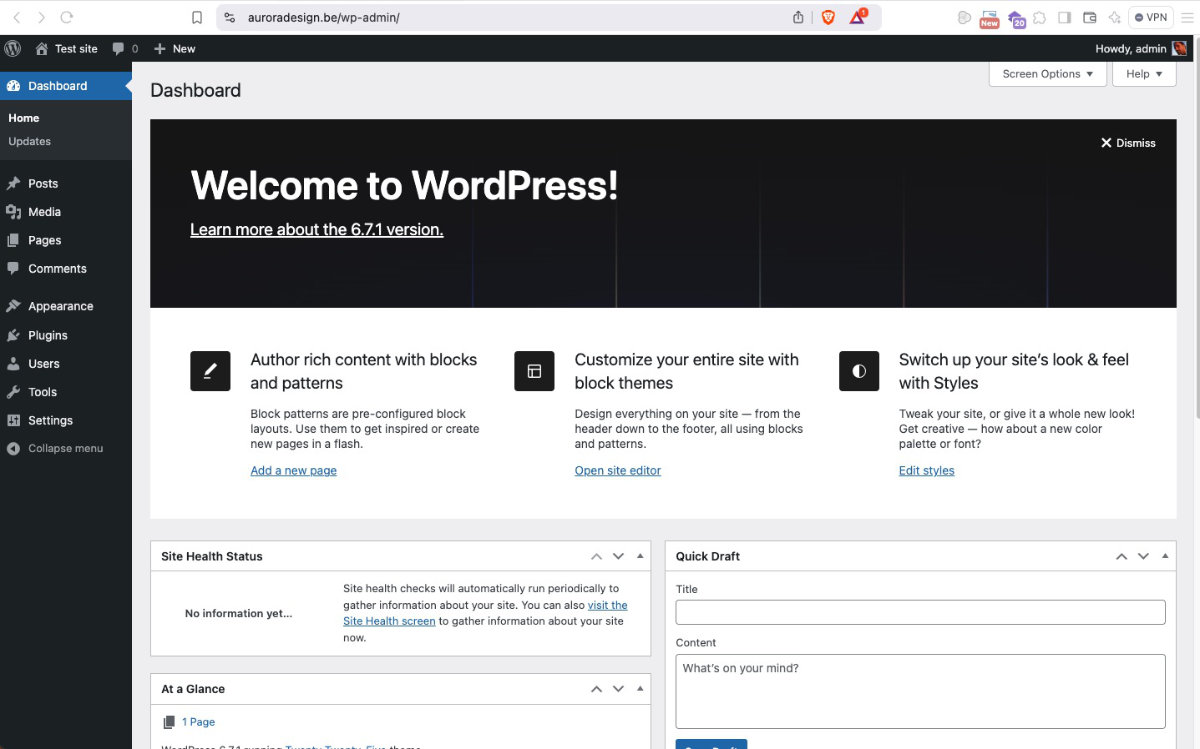
Dashboard – Home
As one logins into a WordPress web site the first screen one usually sees is the Dashboard Home. There are Dashboard widgets/features here one can drag around and arrange as one would like. Plugins might also add additional widgets to this screen to share information.
Dashboard – All posts
The Posts screen one will get an overview of all the posts located on the site. Right now it shows a draft with the title: “This is the title”. I have already deleted the Hello World posts one sees in the beginning and added a new. This screen will gradually fill up with an overview of the posts you create.
A post is different from a page.
In that the post is something that is more temporary. Like a blog post, or for instance this tutorial, or other things that change over time. As this tutorial will in a few years time be outdated as changes happen to WordPress. A page could for instance be: front page, about us page, contact page. Something that might not change over time. Pages and Posts are somewhat blurred in how they are used but this gives a general overview.
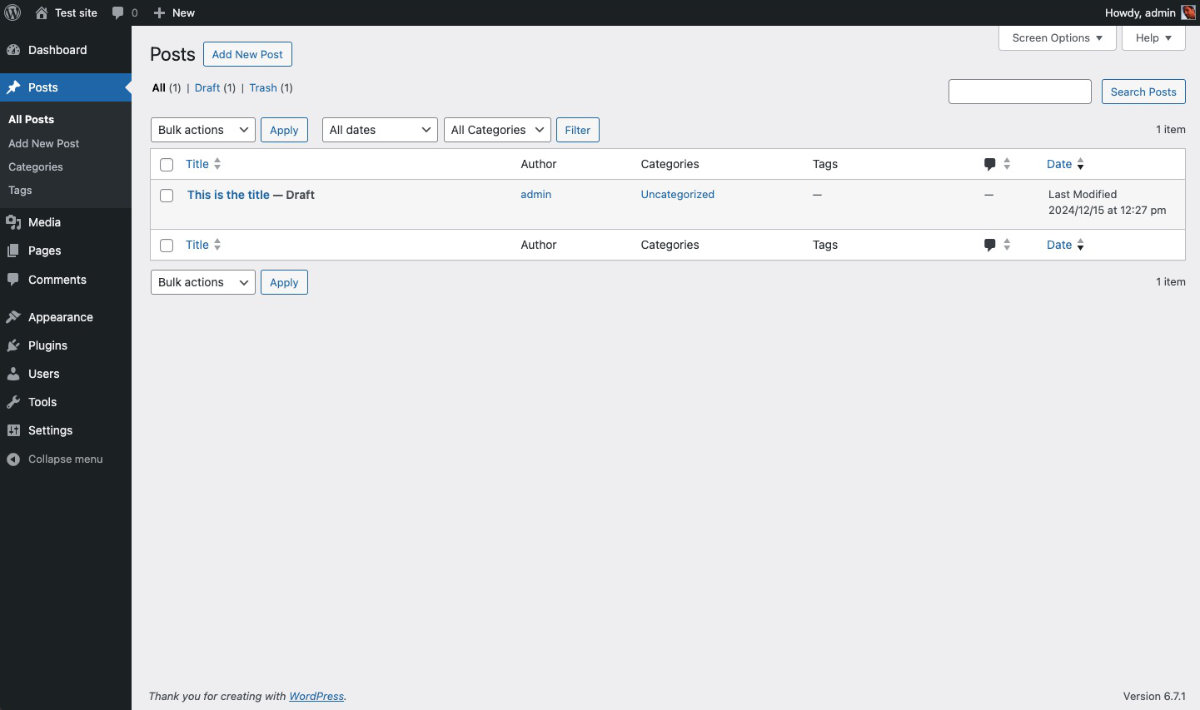
Inside the submenu of Posts is also the Add New Post, Categories and Tags screens.
Creating a new post or a new page
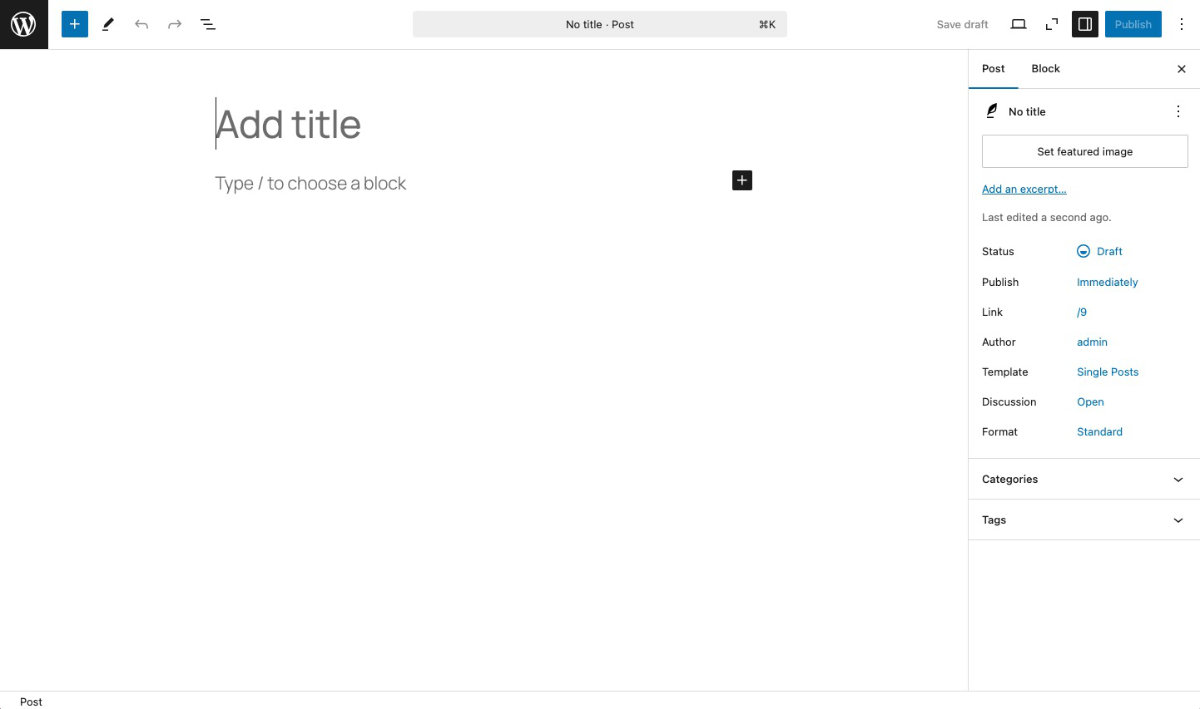
As one creates a new post or page it enters into the Block Editor (Gutenberg) screen.
One adds a title and then the content below.
On the right side the Post or Block setting will be seen.
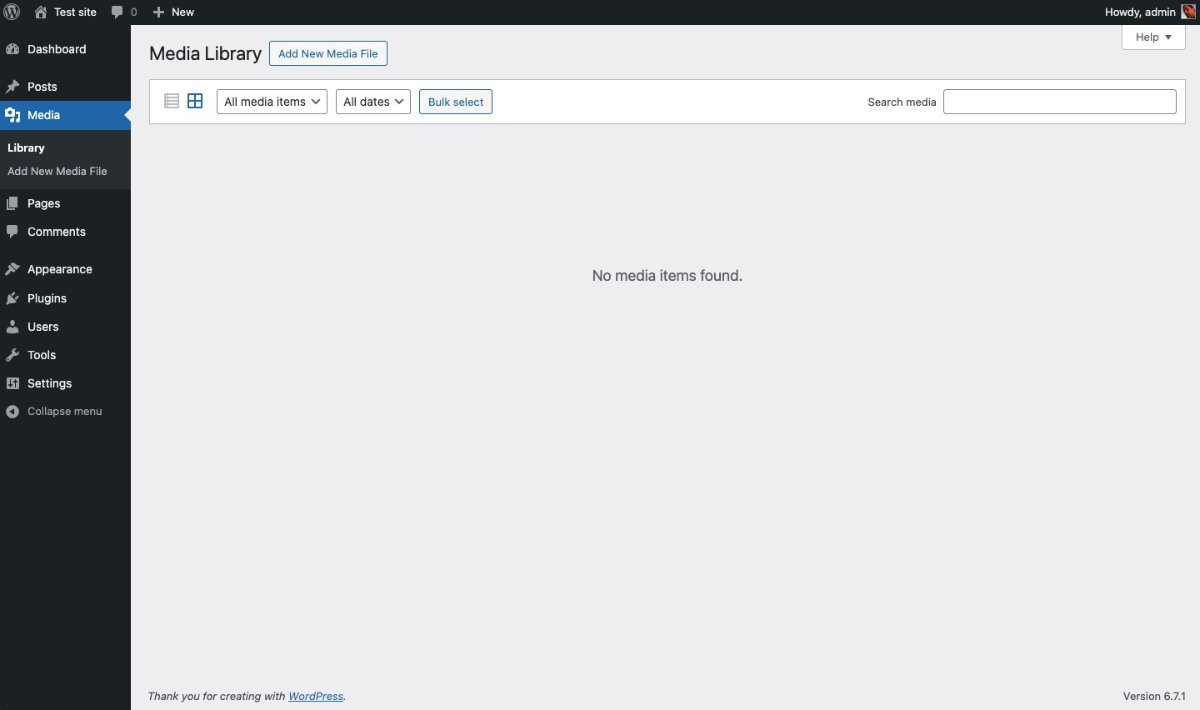
Media – Library
The Media library is the space to where all media content is added. Such as images, pdf’s, audio etc. Videos should in general not be uploaded here but instead added to a video hosting service such as Youtube, Vimeo or other types of video hosts.
Pages – All Pages
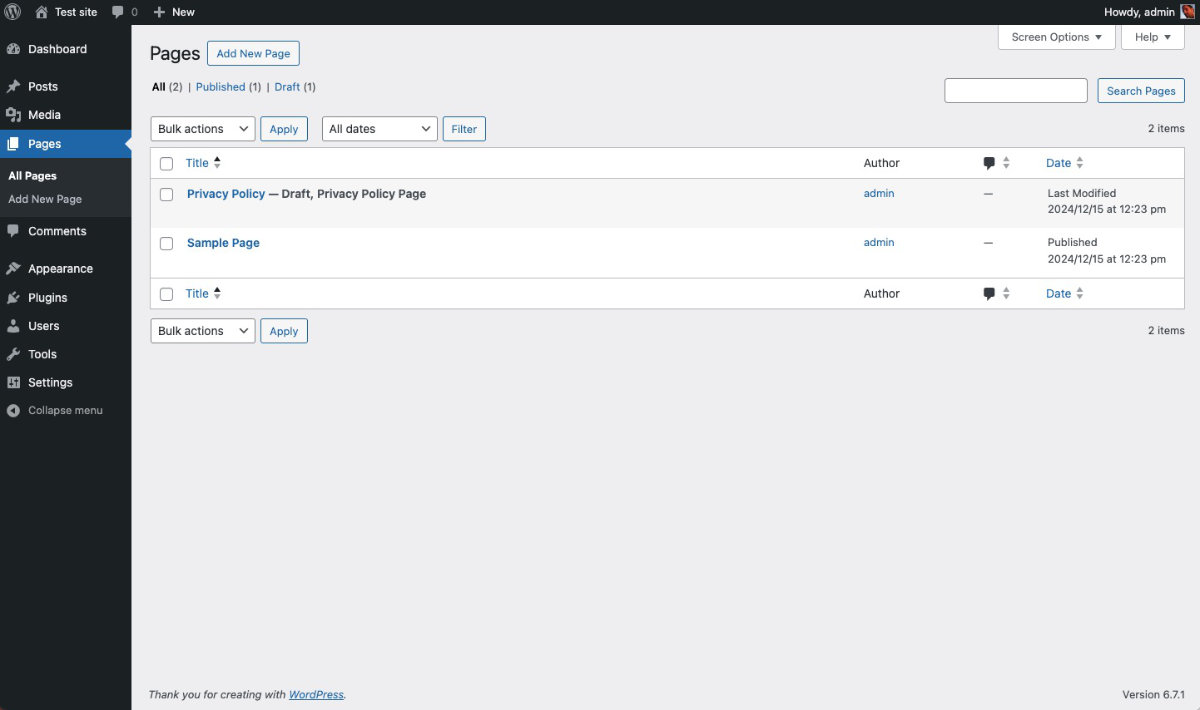
The Pages screen gives an overview of all the pages on the site.
A page is different from a post.
A page could for instance be: front page, about us page, contact page. Something that might not all all change over time. A post is something that is more temporary. Like a blog post, or for instance this tutorial, or other things that change over time. As this tutorial will in a few years time be outdated as changes happen to WordPress. Pages and Posts are somewhat blurred in how they are used but this gives a general overview.
Comments
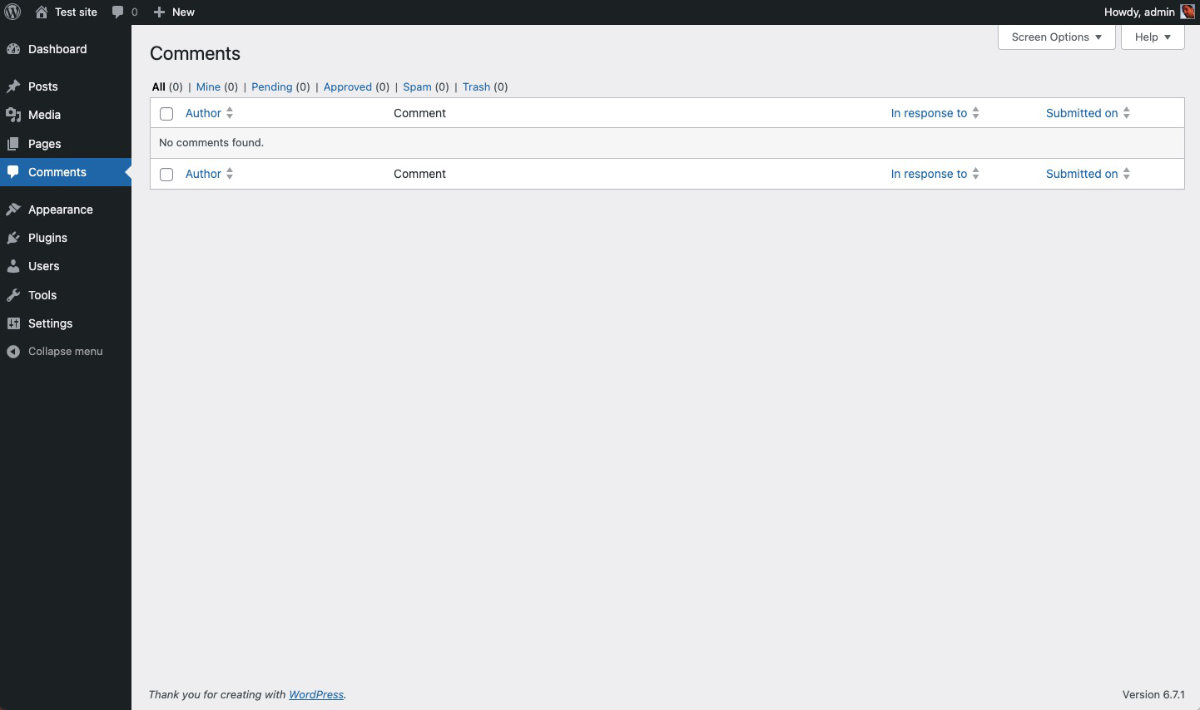
The Comments screen is where one sees the comments made to posts. If one has comments turned on for the web site. Which means comments can also be turned off. This can be done in the Settings -> Discussion page. Close to the top of the page.
Appearance – Themes
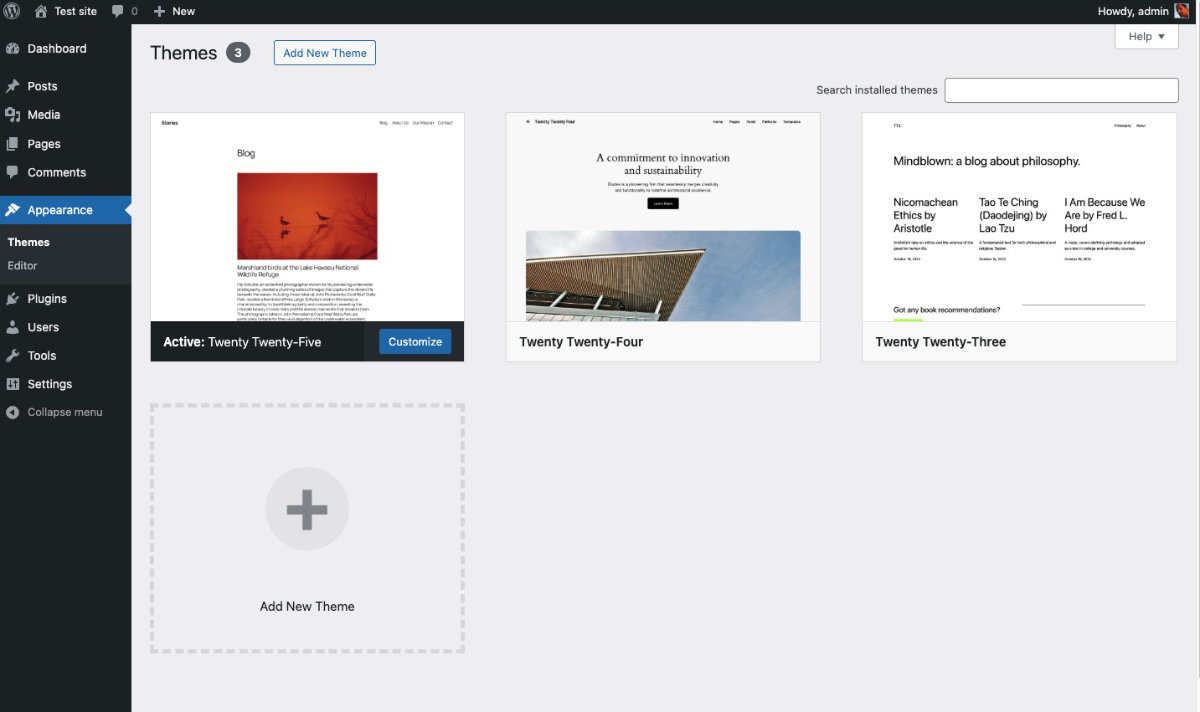
This is where one can add a New Theme, change which theme is active, update a theme or delete a theme.
Because of a featured called Full Site Editing – Editor. There is really no need to find a new theme but use one of the themes that are available such as Twenty Twenty-Five, Twenty Twenty-Four etc. As full site editing one can go to the Appearance -> Editor and modify the full site. For instance Header and Footer.
Hover over a theme and either preview or activate it.
Appearance – Editor
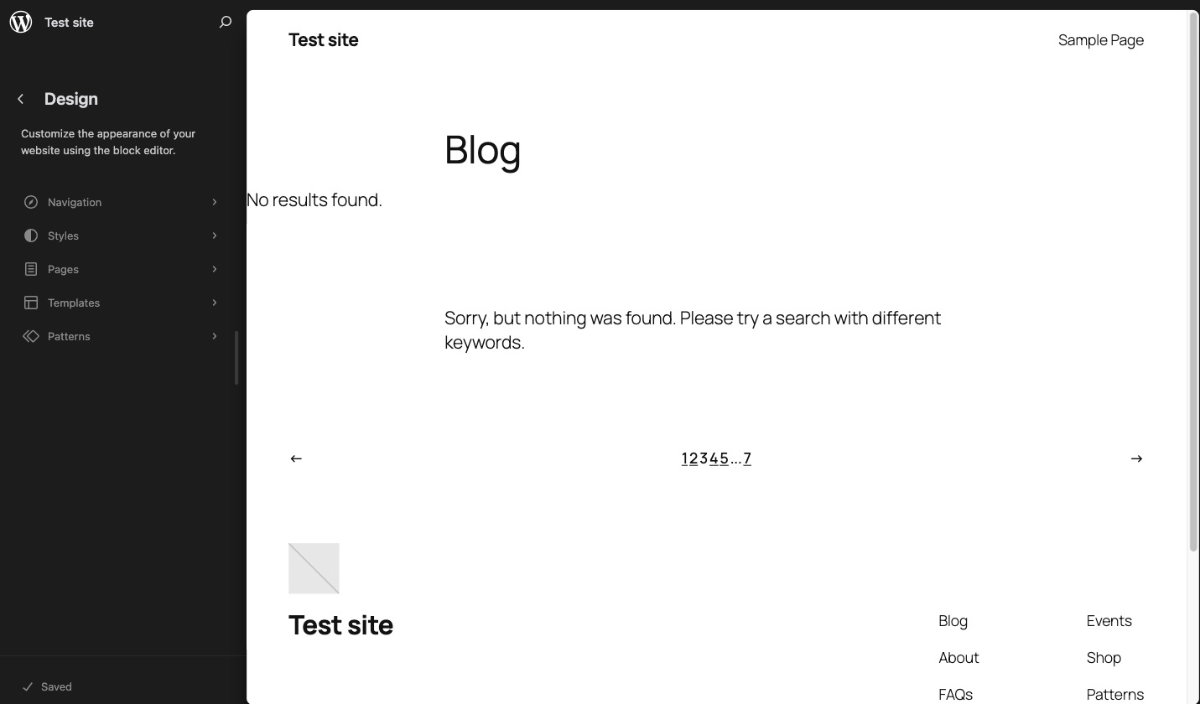
The Site Editor looks very different from any other section in WordPress. What one sees here is the newest features in WordPress. In the Site Editor one can accomplish a lot of things. For instance.
Navigation: is one of multiple places one can work on the Navigation of the site. One can also work on navigation directly through templates.
Styles: One can style the full site by changing the background color, font color, font family and more.
Pages: Get an overview and edit the pages.
Templates: Examples are modifying the header and footer of a site, or anything that it outside the regular page or post content.
Patterns: Are similar to mini templates that can be added to any page or post. It is a collection of blocks that together create a design or layout.
Patterns can be synced meaning change it one place and have all of the specific patterns where it is used also changed. Or unsynced have each instance/item used independent of each other. There is also work happening to where some of the pattern is synced while other areas of the pattern is not synced.
Plugins – Installed Plugins
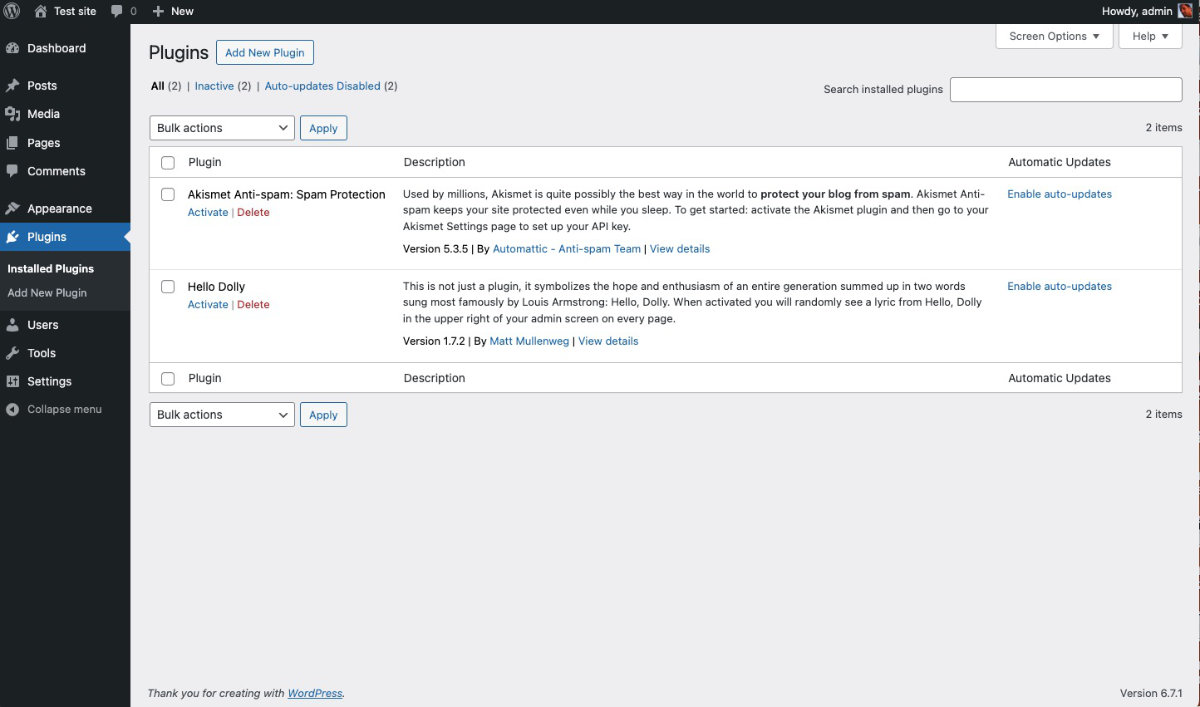
The Installed Plugins screen is where one can see the additional features (plugins) installed as well as add new plugins that will cover a specific feature needed for the site. Here are two default plugins that are included. Akismet meant to be used to protect the site against spam and the other a small plugin called Hello Dolly which will show the lyrics in the upper right of the screen. I delete the Hello Dolly but I keep and activate the Akismet plugin.
Users – All Users
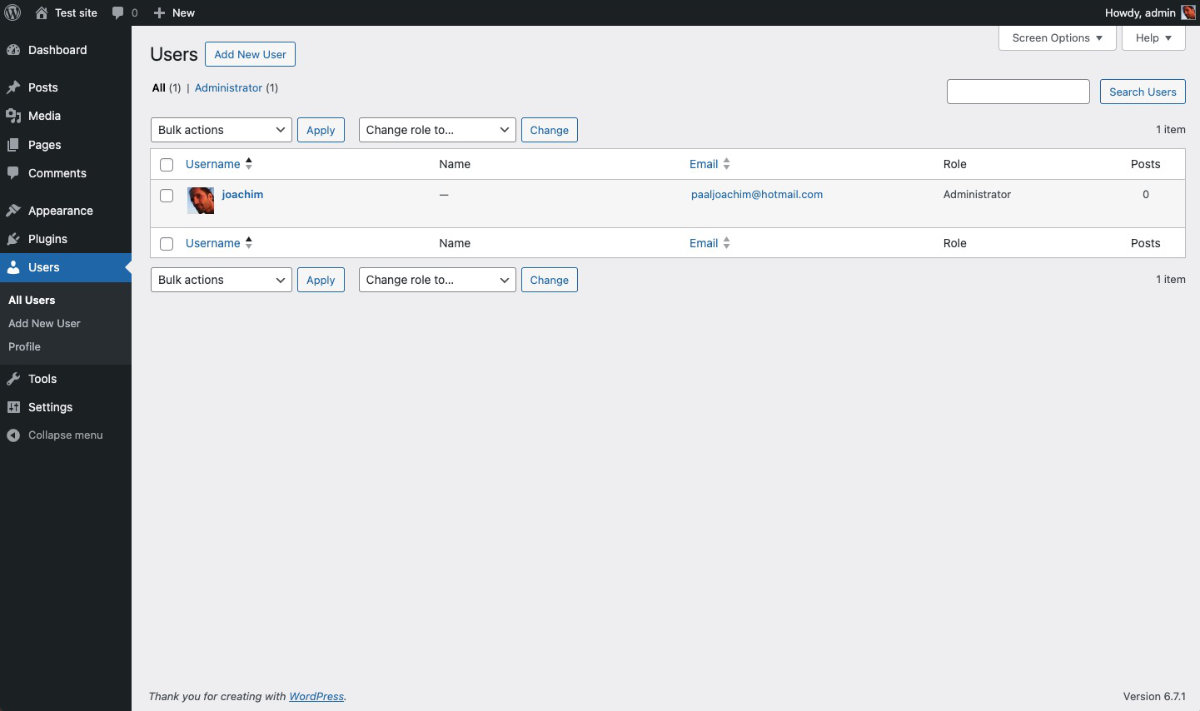
The Users screen shows an overview of registered users on the site. Users will have different roles as in rights to what they are able to access.
For instance some roles can not see the plugins screen.
There is a Profile screen to where one can modify different aspects of the users.
Tools – drop down menu.
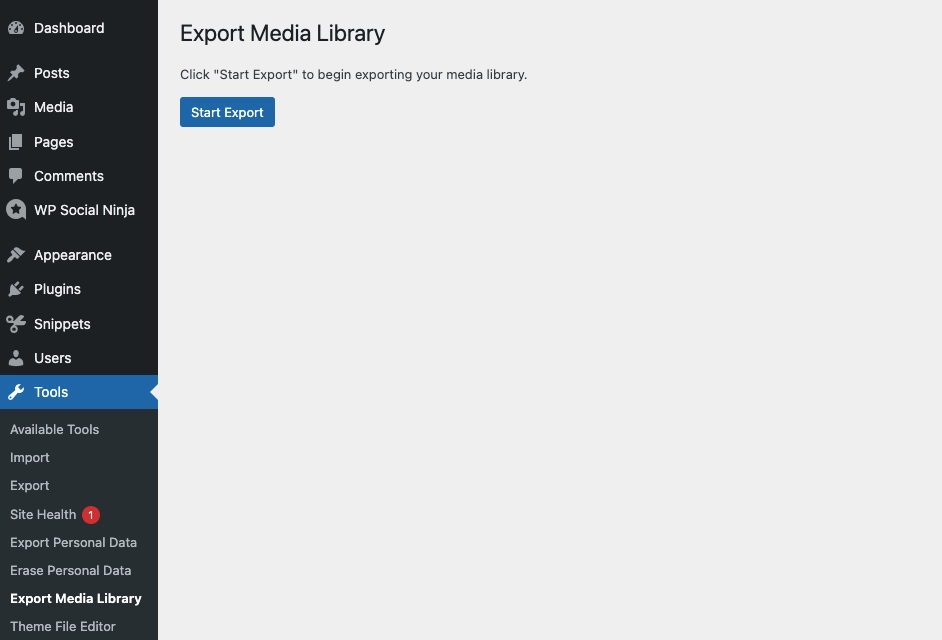
The Tools drop down / submenu has a lot of options. Such as Available Tools, Import, Export, Site Health and more. There is also the Network Setup, Theme File Editor and Plugin File Editor. NB! In general one should not edit any file through the Theme og File Plugin Editors. But instead add additional code through a code snippet external plugin.
Settings – General
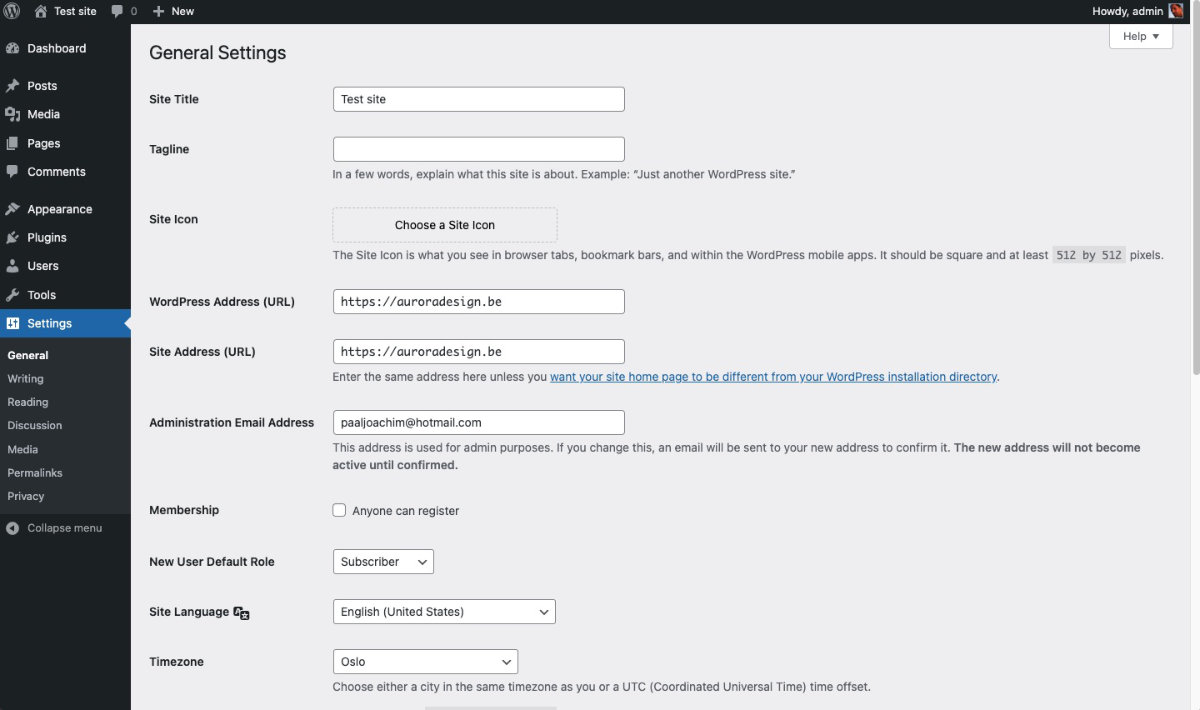
General: Some of the things one can modify is the Site Title, Tagline (a kind of subheading), Add a Site Icon (similar to the small image one can see on various tabs) and more.
I usually modify the following:
Site title to give it the name I find suitable for the site. I might also add a Tagline. I do add a Site Icon which I will create 512×512 in a photo editing program.
I might also change the admin email address if needed. Add in the Timezone for the current location. As well as adjust the Date Format and Time Format not seen in this screenshot.
Settings additional screens
Writing: I might adjust the Default Post Category so it is not Uncategorized but something that I define. Perhaps News.
Reading: I will adjust the Your homepage displays – from Your latest posts to A static page and select the frontpage I want to use.
Discussion: I might turn off comments “Allow people to submit comments on new posts” if I do not want any comments to posts I publish.
Media: I will unclick “Organize my uploads into month- and year based folders” because there becomes too many folders. I usually want to keep all my media in just one folder.
Permalinks: I will change permalinks into Post name. Example.com/postname/
Privacy: I usually do not do much here.
That was a walk through of the general WordPress screens. There are some additional details added to the video I have not added into this written tutorial.
Viewing the frontend (the site visitors will see).
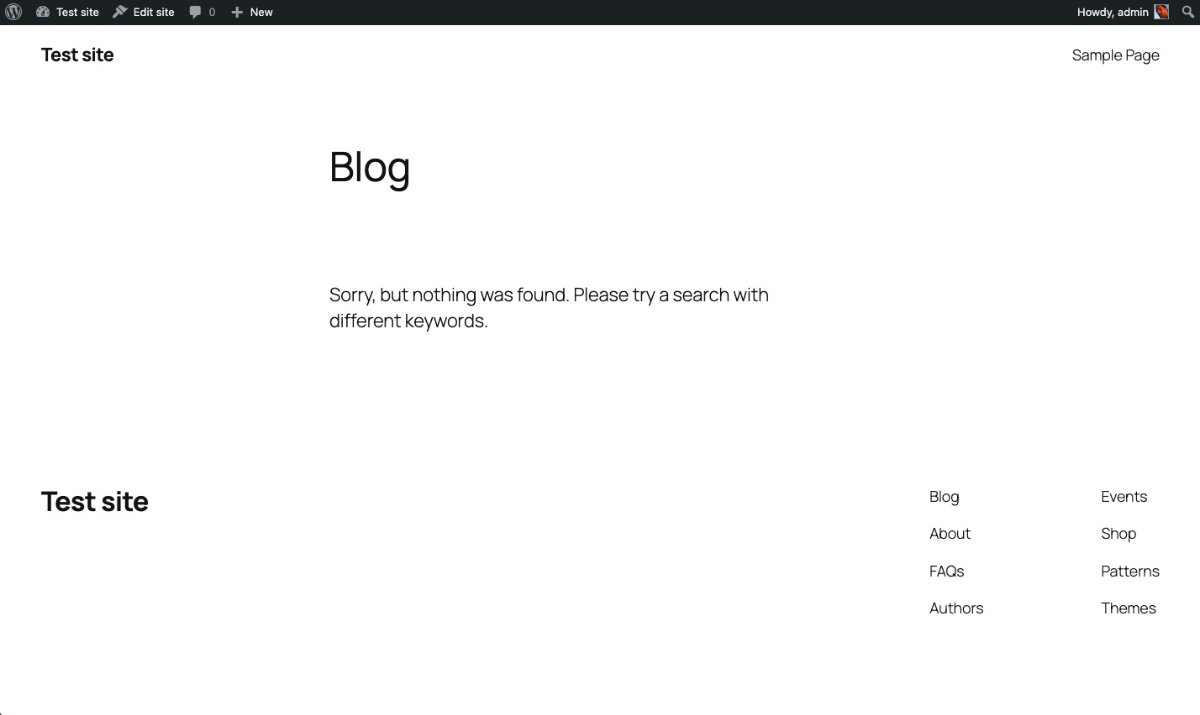
Here we see the frontend and the front page of the site as it currently looks. At the moment Latest posts are seen on the frontpage of the site. This can be changed through Settings – Reading screen.
Top area: Header. This can contain the Site title and a navigation menu.
Middle area: the post/page content.
Bottom area: Footer of the site.
Headings, page title and footer can be adjusted through the various templates.
Hopefully the walk through gives you a certain idea of the different screens in WordPress.
Great introduction to WordPress! This post does a fantastic job of breaking down what WordPress is and why it’s such a powerful platform for building websites. Whether you’re a beginner or just curious, this overview makes it easy to understand the basics and highlights the flexibility and potential WordPress offers. Looking forward to more in-depth guides!