After installing and activating Contact Form 7 a new sidebar item is seen named Contact with the sub sections Contact Forms, Add New and Integration.
Going to Contact Forms one can see a list of the forms. By default Contact form 1 will be seen. Clicking the title or hovering and clicking edit one enters the Edit Contact Form screens.
Form screen.
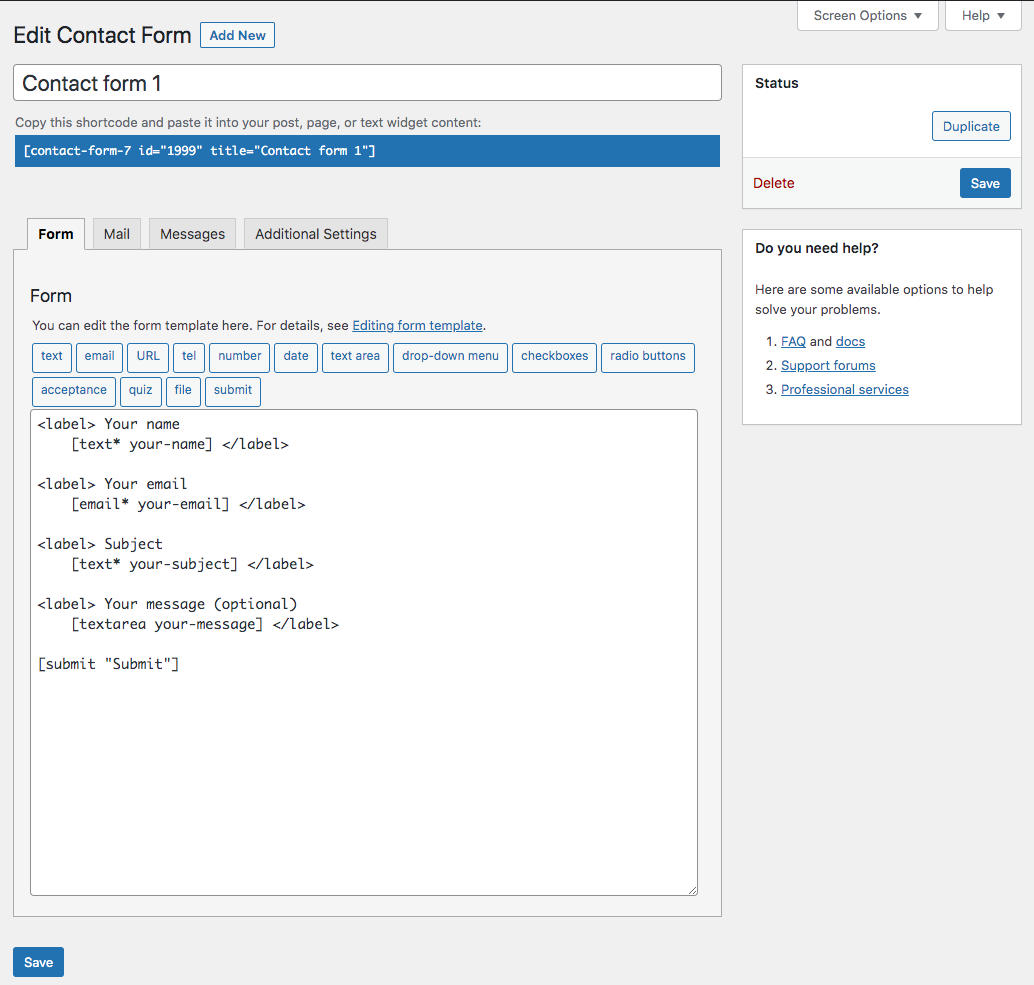
Here one can add new fields and or modify the existing fields.
Go to the Contact Form 7 documentation to learn more about the fields.
Mail screen – admin/receiver e-mail.
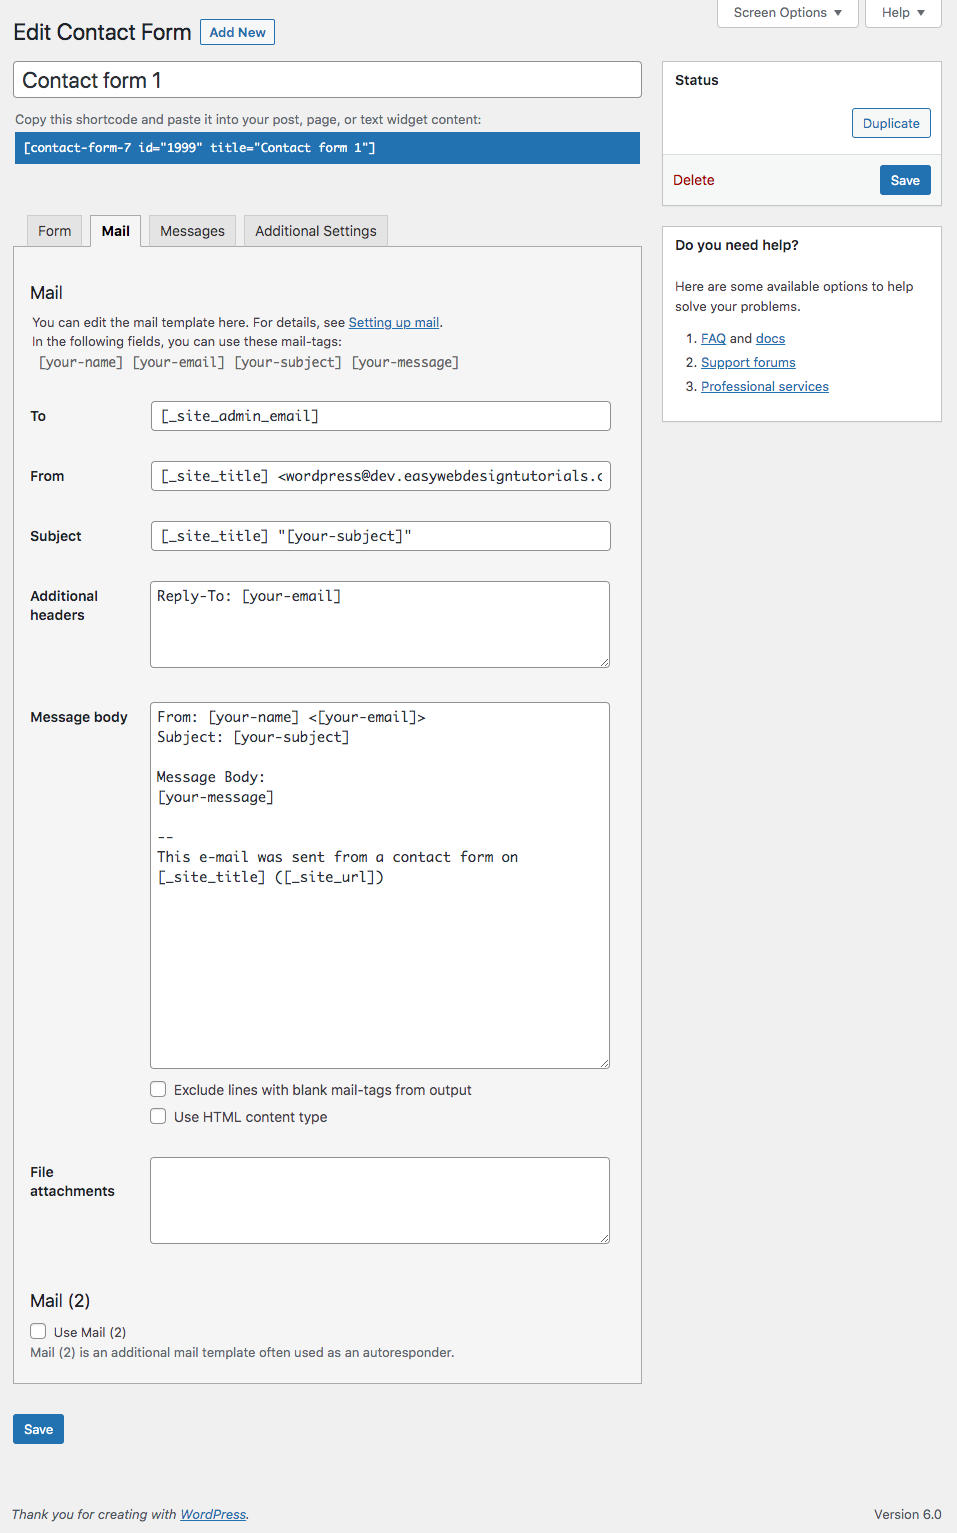
Mail section one fills out information which will be send to the admin/receiver of the user submitted e-mails.
The default form has prefilled areas to show you a way to setup the form.
To: Instead of the form tag seen one can fill out the e-mail of the person receiving the e-mail.
From: Here one must fill in an e-mail address that uses the domain the form is located on. For instance or a custom e-mail used for the domain.
Subject: One can use a form tag as seen in the screenshot or use a predefined text.
Additional headers: Shows the reply to e-mail address of the user who submitted the form.
Message body: Here one adds the form tags which will be seen in the e-mail the admin/receiver gets.
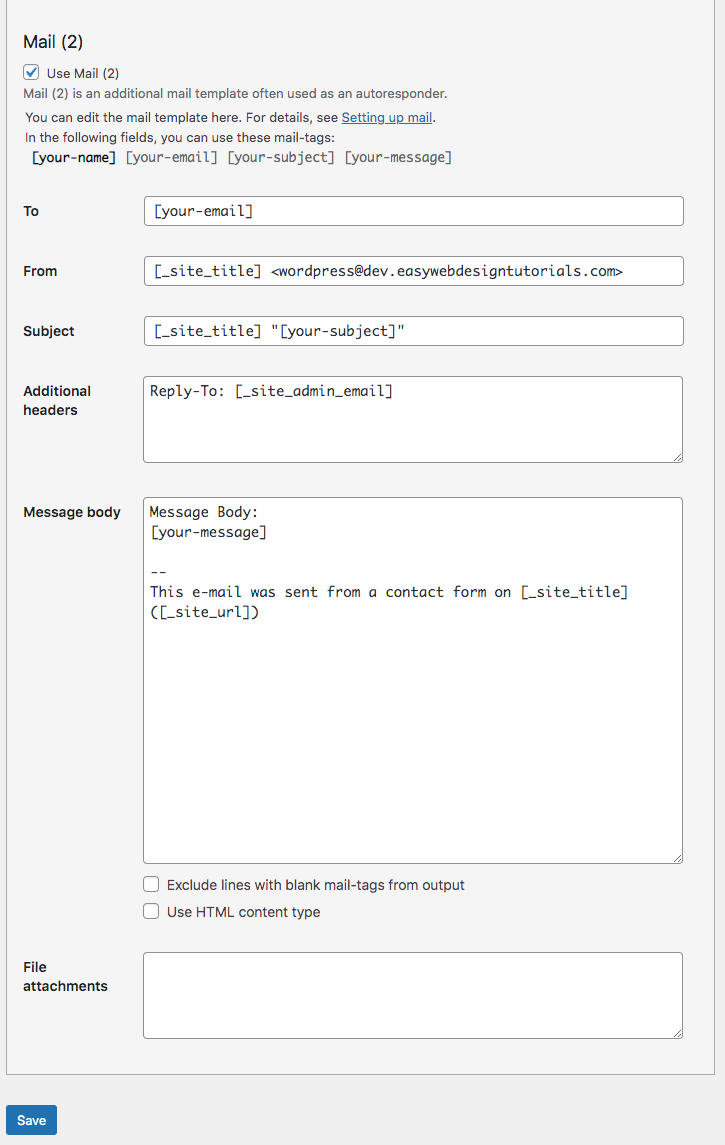
Mail (2) – Autoresponder.
Mail (2) is setup for the user who submitted the form.
To: User submitted e-mail.
From: Here one can setup a custom e-mail that uses the domain as part of the e-mail, or one can use the default address.
Subject: Use a predefined or a form tag.
Additional headers: Use a custom e-mail or default e-mail address.
Message body: This is the auto responder message the user will get.
Some tips
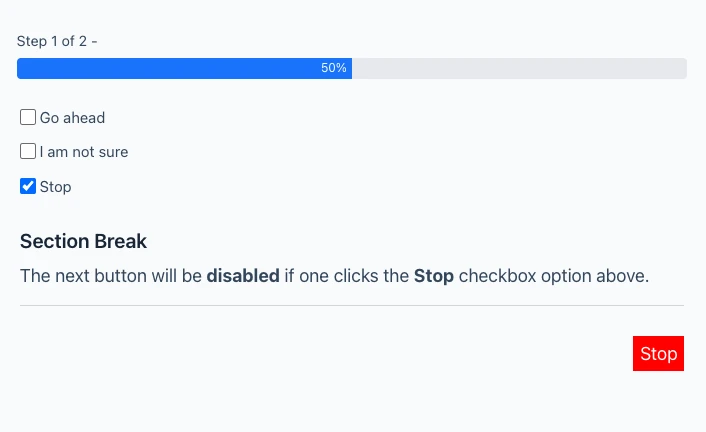
In working on a customers Contact Form 7 I came across a way to add a prechecked checkbox. Adding a default:1 will make the first checkbox prechecked. If checkbox two was to be prechecked I would add default:2.
<label> Signup for our newsletter.
[checkbox newsletter use_label_element default:1 "Yes"]
Spam protection.
Honeypot field.
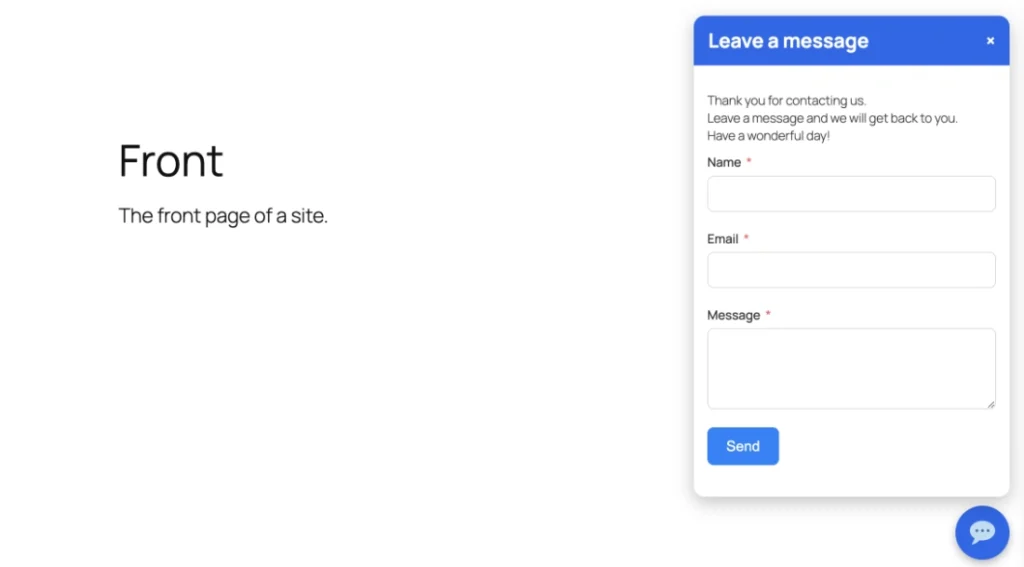
Use a honeypot field to add an invisible field which only autobots will fill out. Autobots are programs that automatically send e-mails to a lot of people. Adding a honeypot field adds the invisible for humans when they look at the form field but bots will fill it in. When a honeypot field is filled in it will not send. More info about honeypots here: https://youtu.be/WyPzuoiNf6o
Akismet
Install and activate the Akismet plugin.
https://contactform7.com/spam-filtering-with-akismet/
Example. Adding an additional information to the email field.
https://youtu.be/zeIHHS5Cgrs
Email [email* mail akismet:author_email]The above is just the beginning of a longer Contact Form 7 tutorial. More will be added at a later time.
This tutorial was originally written 25 March, 2013 and updated 9 April , 2017.
Various resources
https://wordpress.org/plugins/ultimate-addons-for-contact-form-7/
https://www.wpexplorer.com/best-contact-form-extensions/