I have decided to consolidate the two Ninja forms beginner tutorials that I have.
I will add some general tips here and a link to the walk through tutorial.
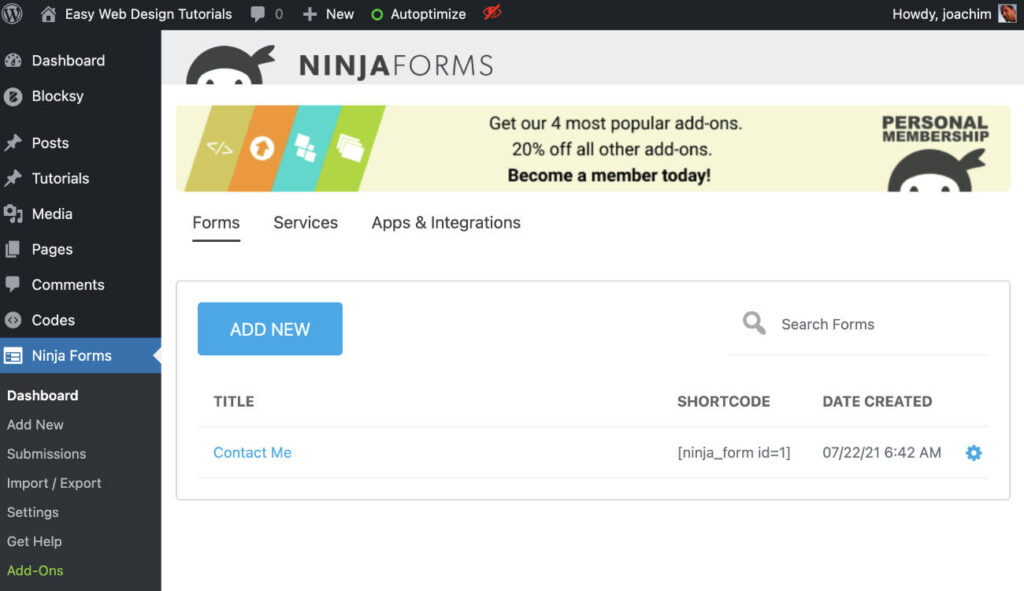
How to rename a Ninja Forms form.
Go to the Ninja Forms Dashboard. Click the form you want to rename.
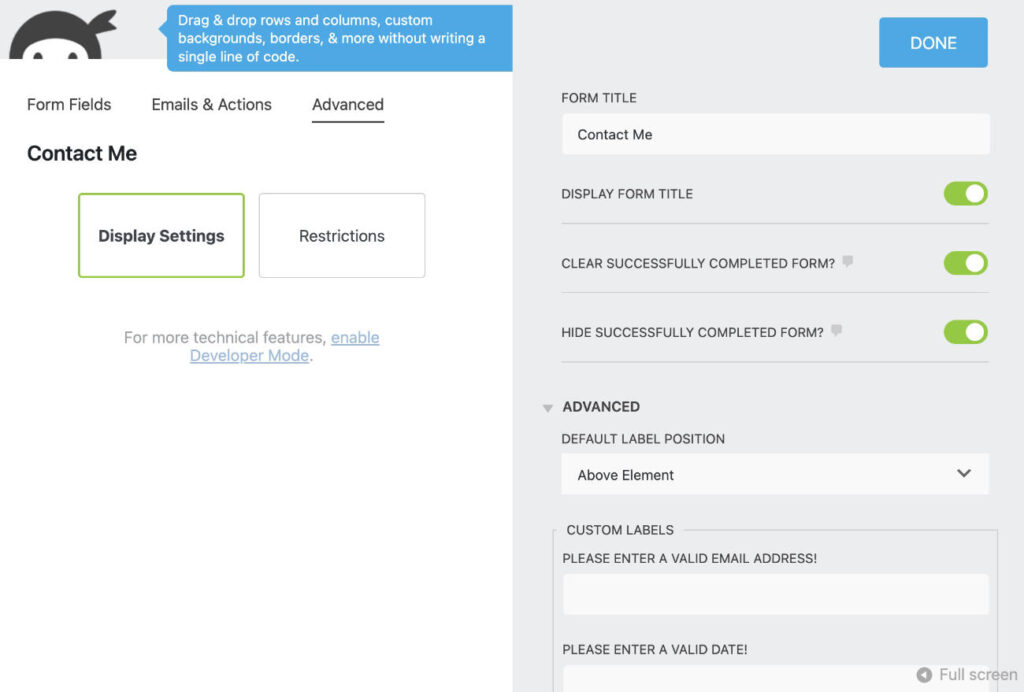
(Next screen) Then click the Advanced tab.
Under the Advanced tab. Click Display Settings. To the right at the top the Form Title is seen. Rename and click Done and then click Publish.
The form should now be renamed.
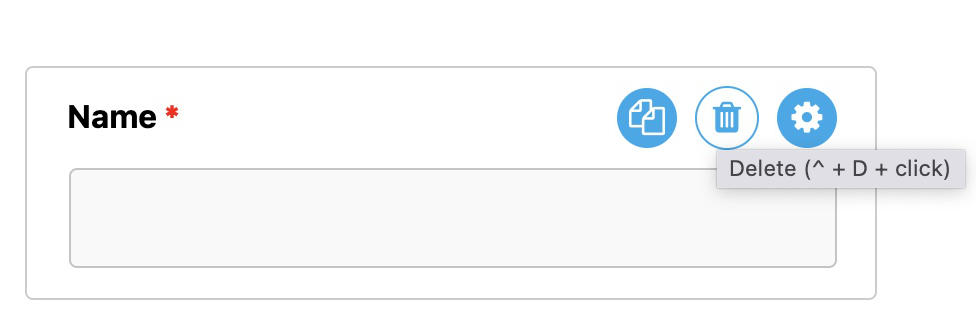
How to delete a field
Go to a form. Hover over a field (when the field settings are not seen on the right side). Hover over the blue gear icon and notice the two additional icons show up. Click the trash can to delete the field.
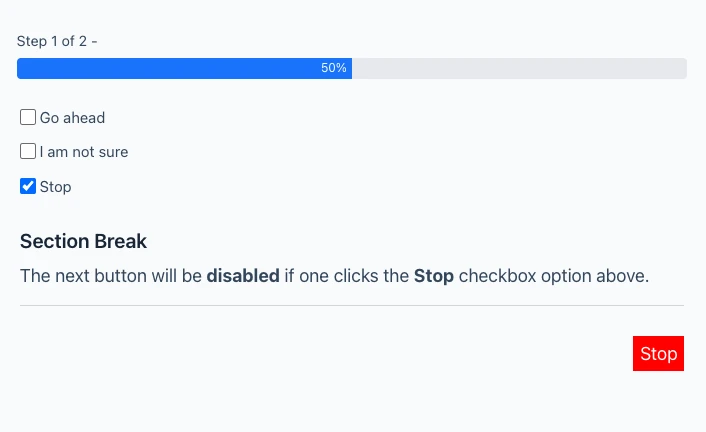
How to remove “Fields marked with an * are required”
See: https://ninjaforms.com/docs/hide-fields-marked-required-message/
In the Customizer or in the child theme style.css add the following.
.nf-form-fields-required {
     display: none;
}
It might take a few hard refreshes for it to show up without the text above the form. I was able to right away add the above CSS to Customize and see the adjustments show up.
How to style a Ninja Forms form.
To style a Ninja Forms one first needs to enable Developer Mode.
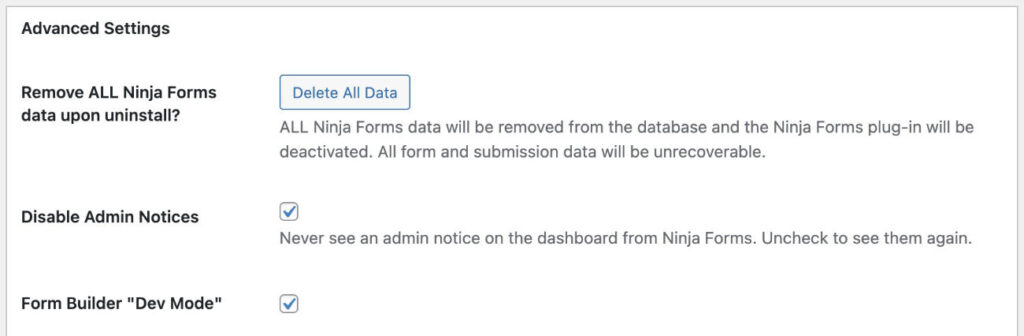
Click Form Builder “Dev Mode” to enable the developer mode. (I also clicked to Disable Admin Notices.)
Go to my Styling a Ninja Forms contact form to learn more about styling / designing your Ninja Form.
Head on over to the Ninja Forms WordPress plugin walk through tutorial to learn more about editing fields, adding the plugin Akismet to prevent spam and more.
This tutorial was originally written 6 September 2016.